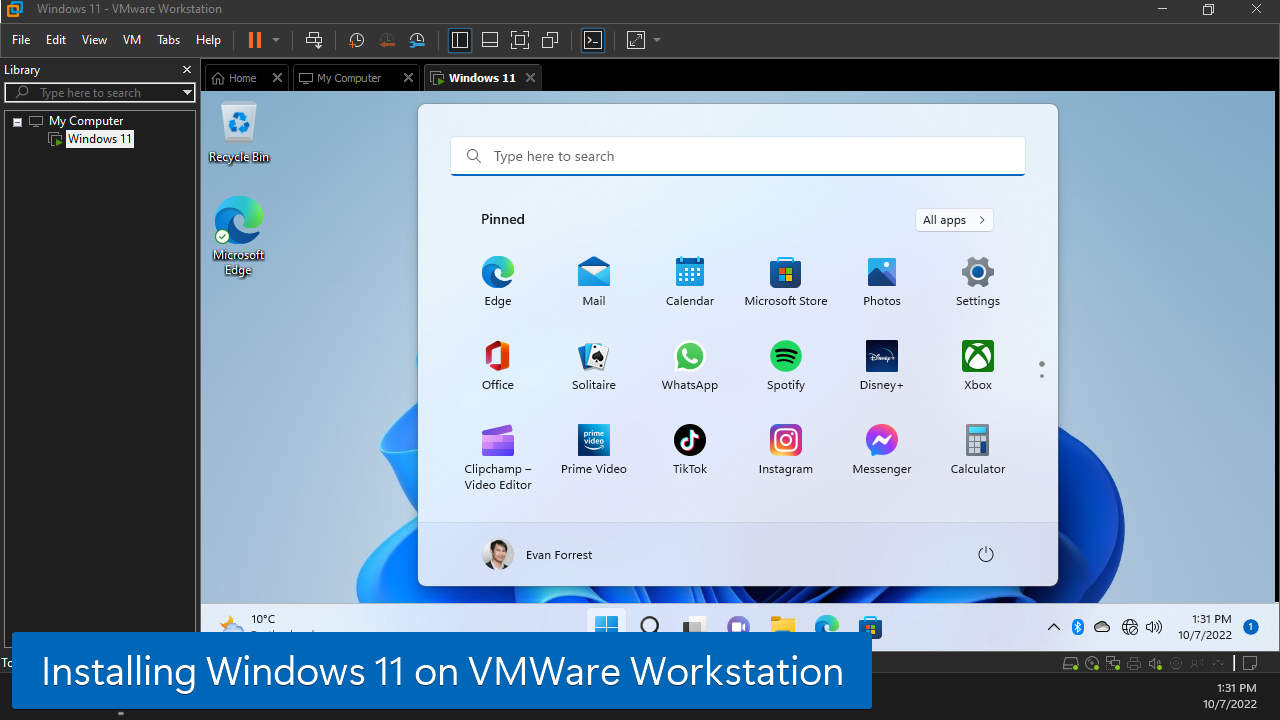
How to Install Windows 11 on VMware Workstation with Fixes
Can't figure out how to install Windows 11 on VMWare Workstation? Here's how to configure the VM to be ready for Windows 11 installation.
If you are familiar with VMware Workstation Pro, you might be surprised how hard it is to install Windows 11. When you install it, you will get an error message saying that your PC isn’t meet the hardware requirements. That’s because there is no Windows 11 template available on VMware Workstation Pro software yet, at least for the time being for the latest version 16. To fix this issue, the virtual machine needs extra configurations as we will detail in this article.
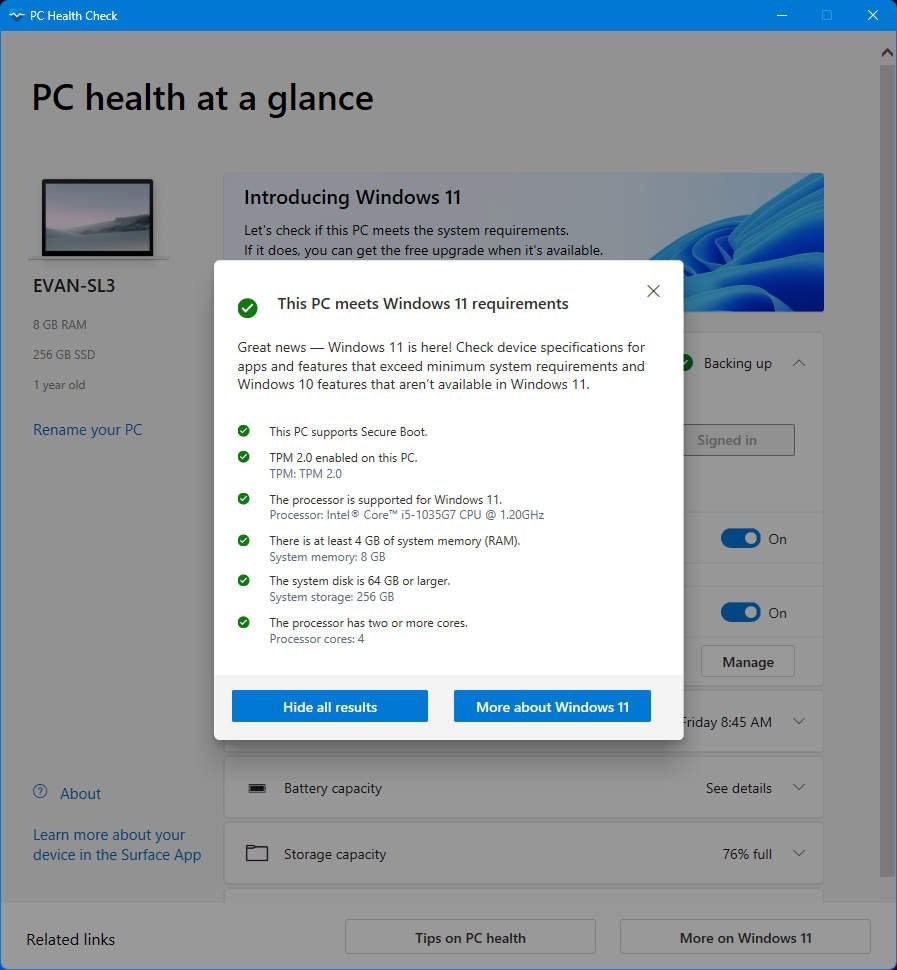
To ensure your virtual machine has all the configurations for Windows 11 requirements, it needs to have at least 2 CPU cores, 4,096 MB of RAM, and 64GB of storage. Moreover, you will need to enable UEFI, Secure Boot, Encryption, and the TPM module. For more detailed directions, check the following step-by-step guides.
Table of contents
- Prerequisites
- Creating a New Virtual Machine
- Configuring Virtual Machine for Windows 11 Installation
- Installing Windows 11 on VMWare Workstation Pro 16
- Installing VMWare Tools
1. Prerequisites
To make sure the installation goes smoothly, you should have everything listed here ready on your computer.
- VMWare Workstation 15 or 16 – It might also work on older versions. I didn’t try that.
- Windows 11 ISO – You can download it from the Microsoft website.
Virtual Machine Hardware Requirements:
- 2-cores or 2-processors
- 4GB (4096 MB) of RAM
- 64GB of Storage – 32GB will work, but it might have issues in the future.
- UEFI enabled.
- Secure Boot enabled.
- VM Encryption enabled.
- Trusted Platform Module (TPM) enabled.
2. Creating a New Virtual Machine
To install Windows 11 on VMWare Workstation Pro, follow these steps:
- Open VMWare Workstation.
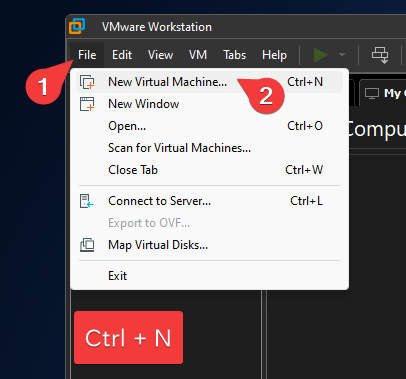
- Click on File > New Virtual Machine (Ctrl + N).

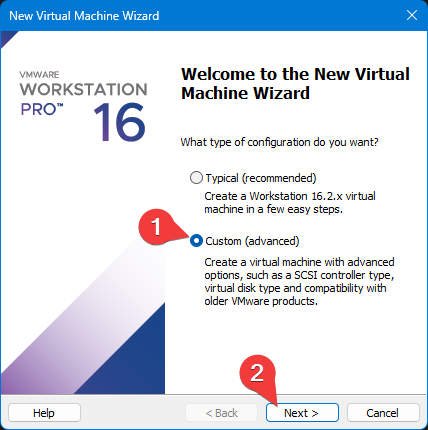
- Select Custom (advanced), and click Next.

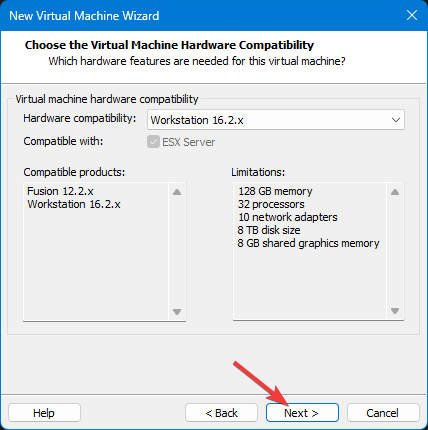
- Keep the default hardware compatibility option, and click Next.
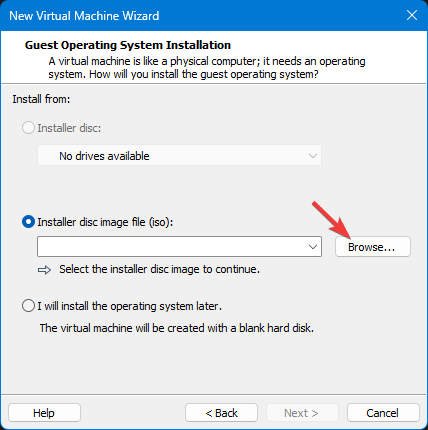
- Select the Installer disk image file (.iso), and click Browse.
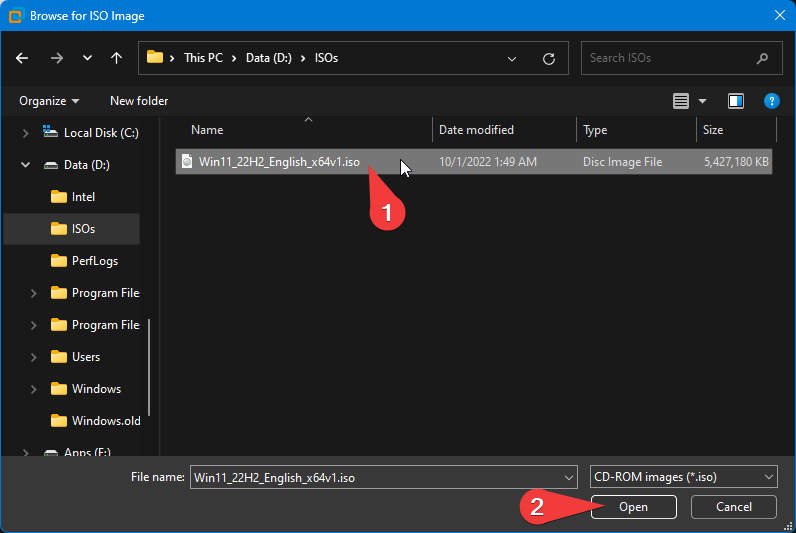
- Locate and select the Windows 11 iso file, and click Open.

- Confirm the location of the iso file, and click Next.
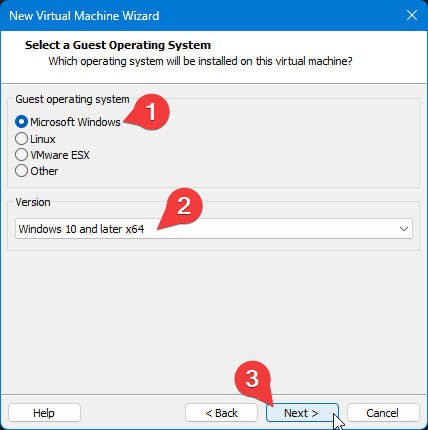
- Select Microsoft Windows from the guest operating system, “Windows 10 and later x64″ from the version, and click Next.
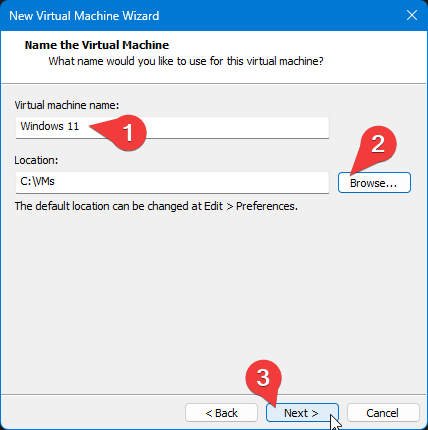
- Name your Windows 11 virtual machine, click Browse to select a folder where you want to store your new VM, and click Next.
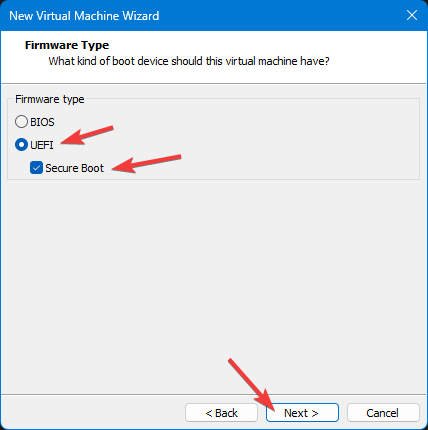
- Select UEFI, check Secure Boot as the firmware type, and click Next.
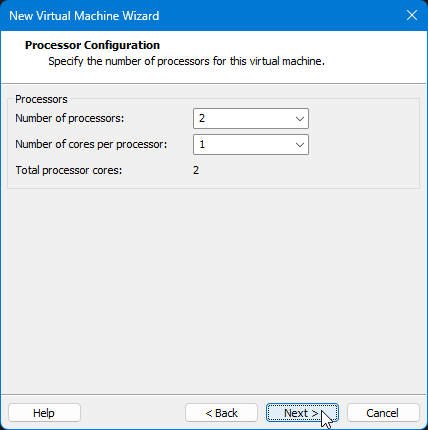
- Leave the default configurations for processor configurations. Make sure you have at least two total processor cores. Click Next.
- Set memory for the virtual machine to at least 4096 MB (4GB), and click Next.
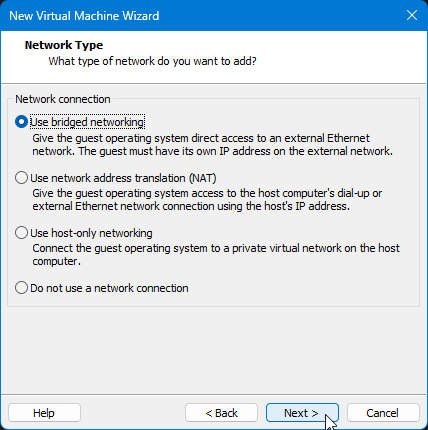
- Select Use bridge networking to allow your new Windows 11 VM access to an external network with its IP address. Or select Use network address translation (NAT) to authorize your new VM to access an external network via your host’s IP address. Click Next.
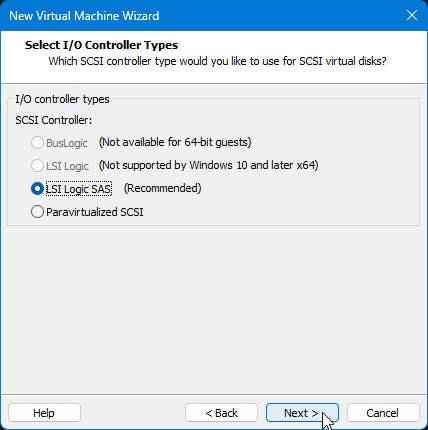
- Keep the default LSI Logic SAS as the I/O controller type, and click Next.
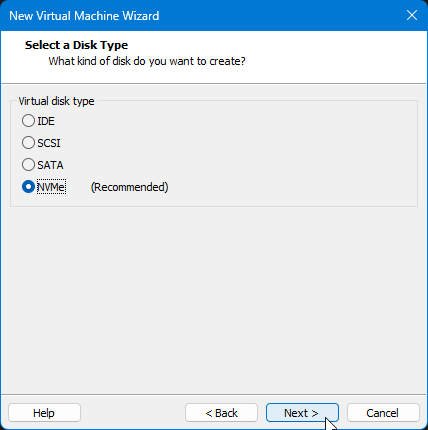
- Keep the default NVMe as a disk type, and click Next.
- Select Create a new virtual disk, and click Next.
- Specify your preferred maximum disk size. Windows 11 has a minimum requirement for disk space is 64GB. As per my testing, 32GB will be enough for testing purposes. Click Next.
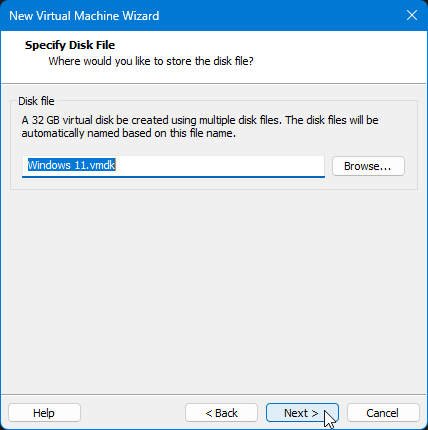
- Leave the default name and location of the disk file. By default, it will install inside the VM directory. Click Next.
- Verify the virtual machine settings, and click Finish.


Once you complete the steps, VMWare will create a new virtual machine with all the configurations you selected from the wizard. However, it is not ready for Windows 11. If you try to install it now, you will see the “This PC can’t run Windows 11” message. To meet the hardware requirements for Windows 11, you will need to configure the virtual machine with extra configurations.
3. Configuring Virtual Machine for Windows 11 Installation
To prepare the virtual machine to be fully compatible with Windows 11 hardware requirements and free from error, you will need to enable access control encryption and add TPM hardware to the VM settings. Use these steps:
- Click on the Windows 11 virtual machine.
- Click on Edit virtual machine settings.


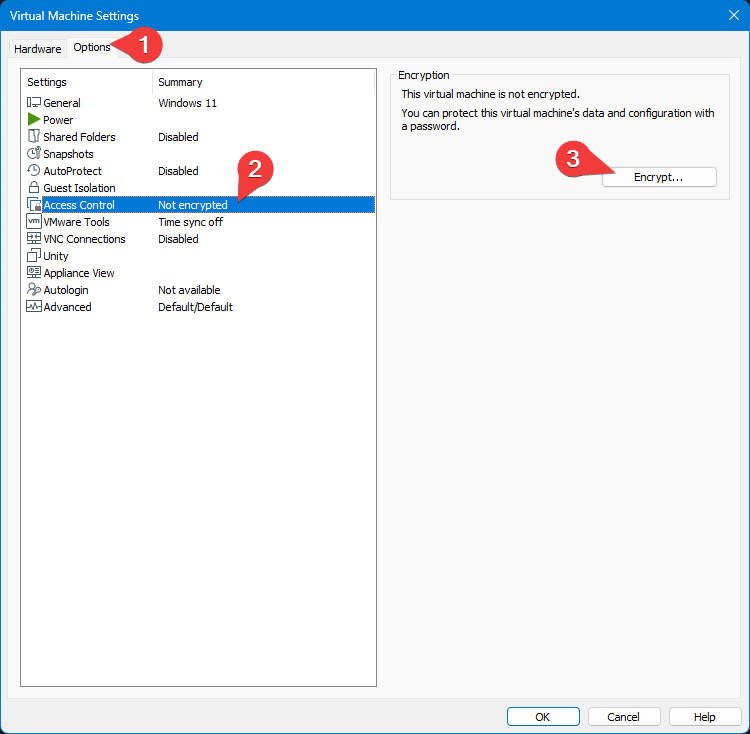
3.1. Enable Virtual Machine Access Control Encryption
- Click the Options tab, select Access Control from the settings list, and click on Encrypt.

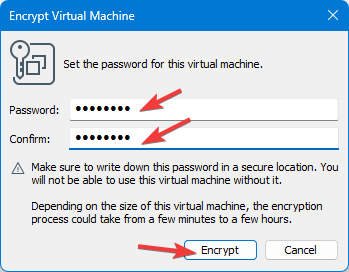
- Enter the same password in the Password and Confirm text box. You will need to enter this password to access the virtual machine when you open the VMWare Workstation next time. Click Encrypt.

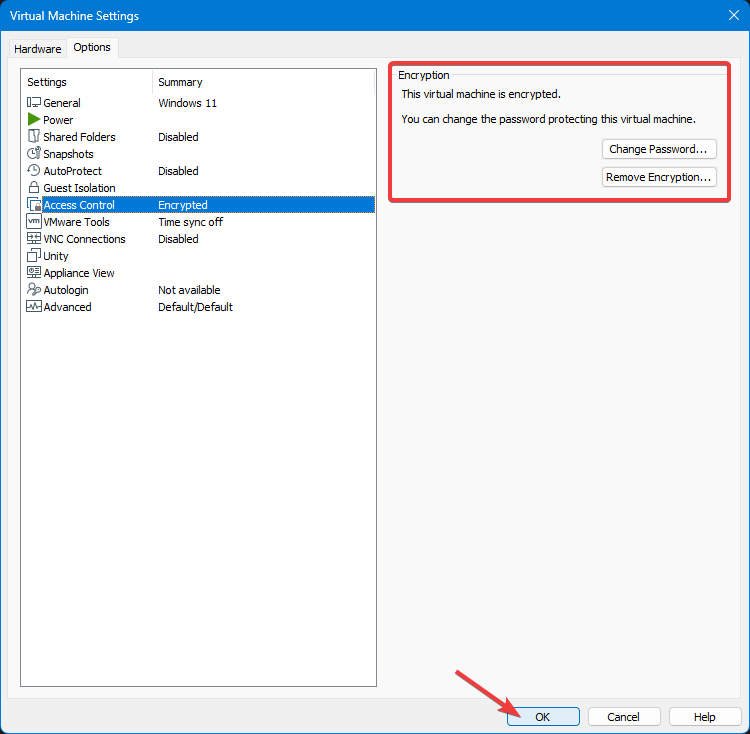
- The virtual machine is encrypted. Click OK to close the settings.
3.2. Add Trusted Platform Module (TPM)
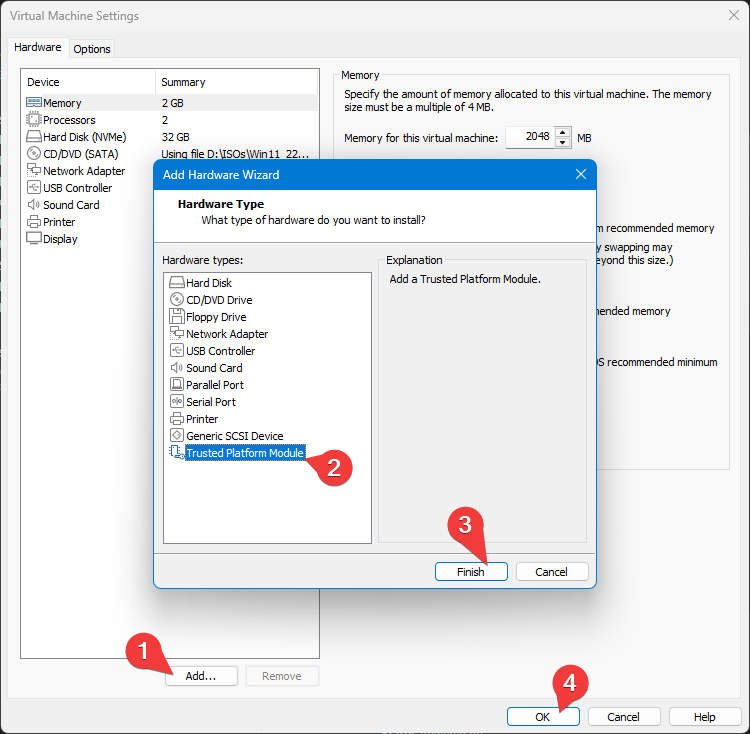
- Under the Hardware tab, click Add.
- Select Trusted Platform Module from the hardware types list, and click Finish.
- Click OK to close the settings.
That’s it. Now your virtual machine is ready for Windows 11 installation.
4. Installing Windows 11 on VMWare Workstation Pro 16
Follow the steps below to install Windows 11 on a configured virtual machine on VMWare Workstation:
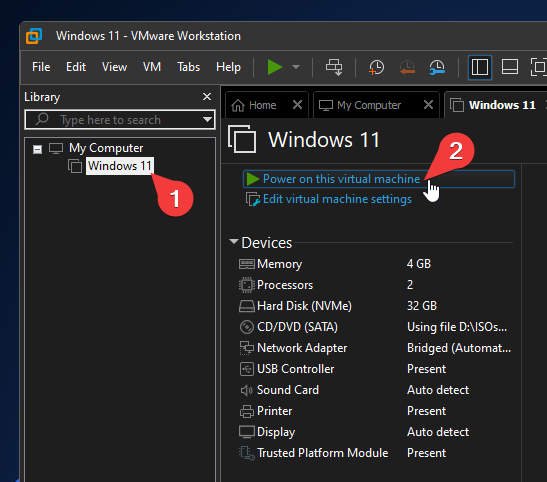
- Click on the Windows 11 virtual machine.
- Click on Power on this virtual machine.

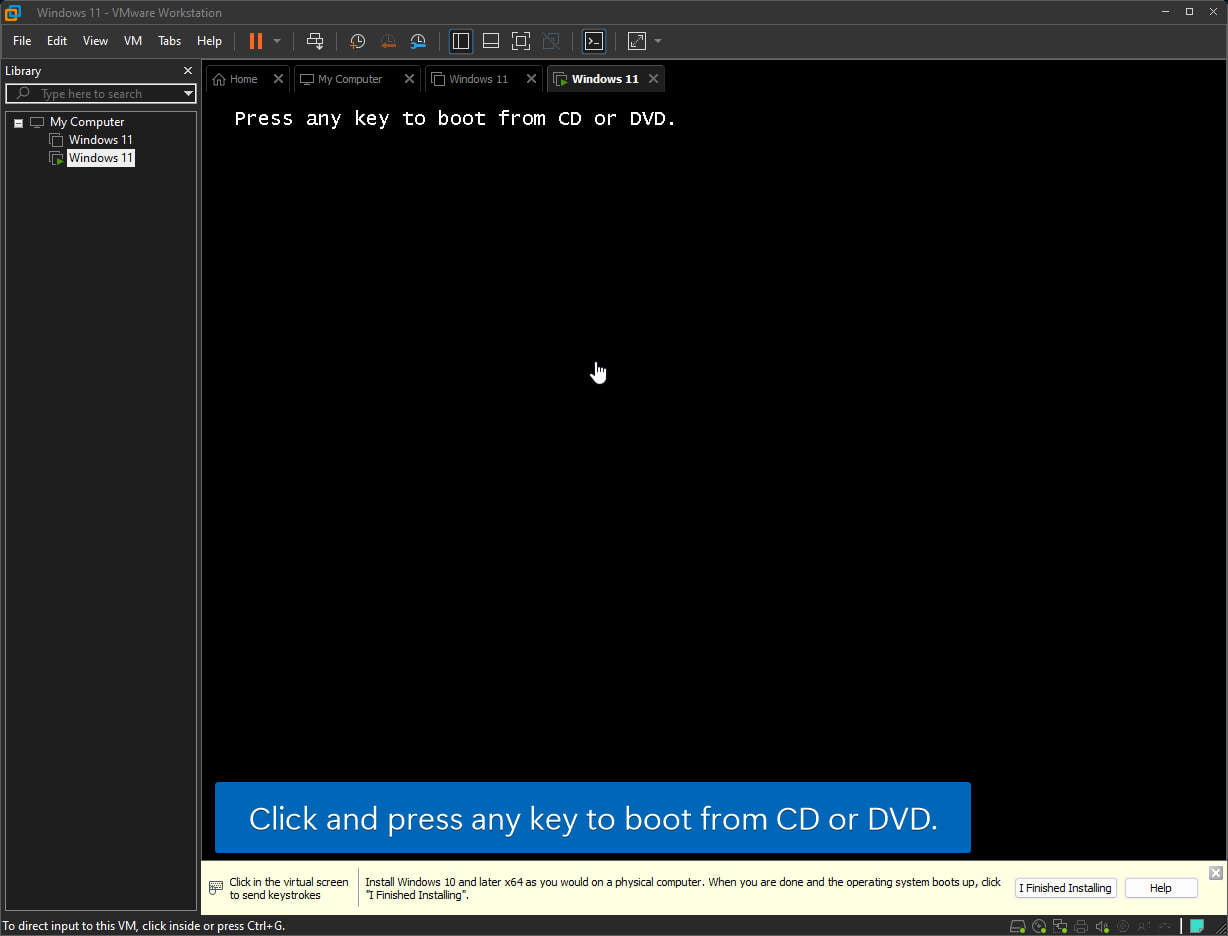
- Click anywhere inside the Windows 11 virtual machine console to change the keyboard and mouse input to the virtual machine.
- Remember to press Enter or any key when you see the “Press any key to boot from CD or DVD.” message to boot into Windows 11 installation wizard. If you didn’t press any key while the message appeared, you need to reset the VM and try again.

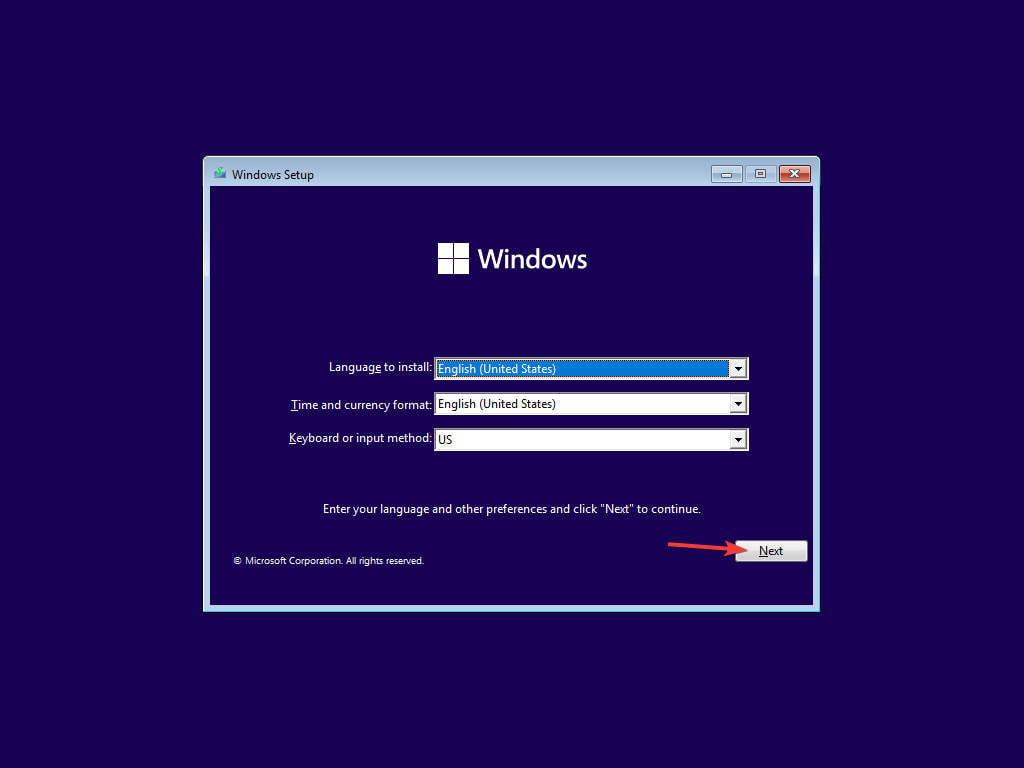
- When the Windows Setup dialog appears, choose your preferred language, time and current format, and keyboard or input method. Click Next.

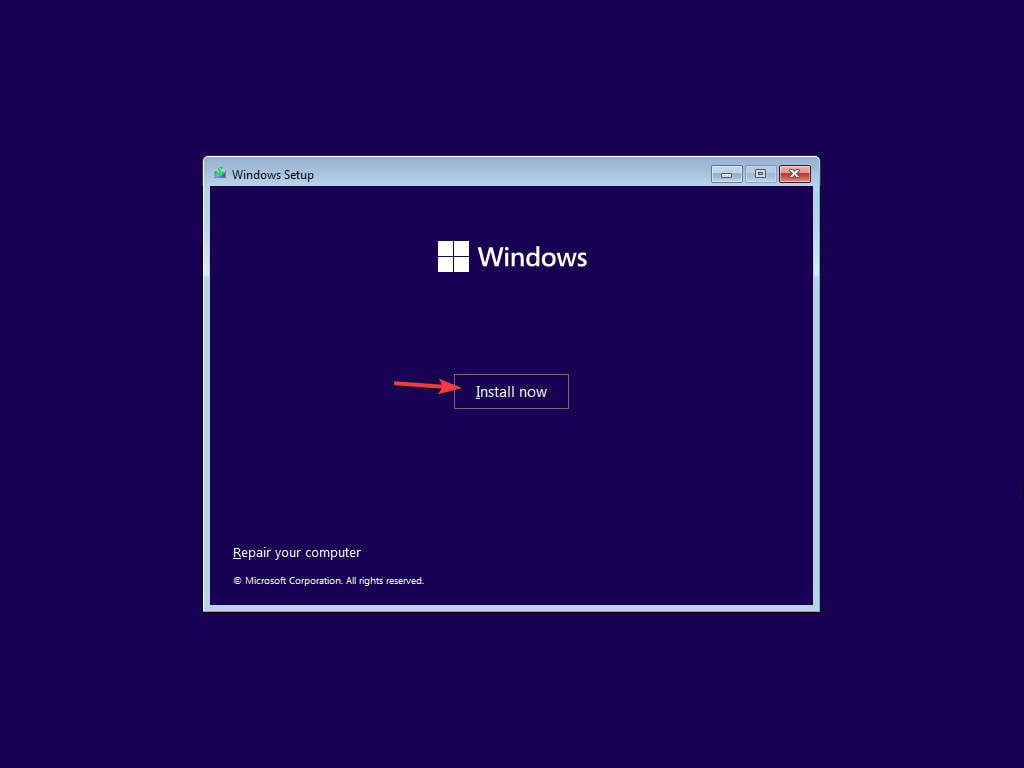
- Click Install now.
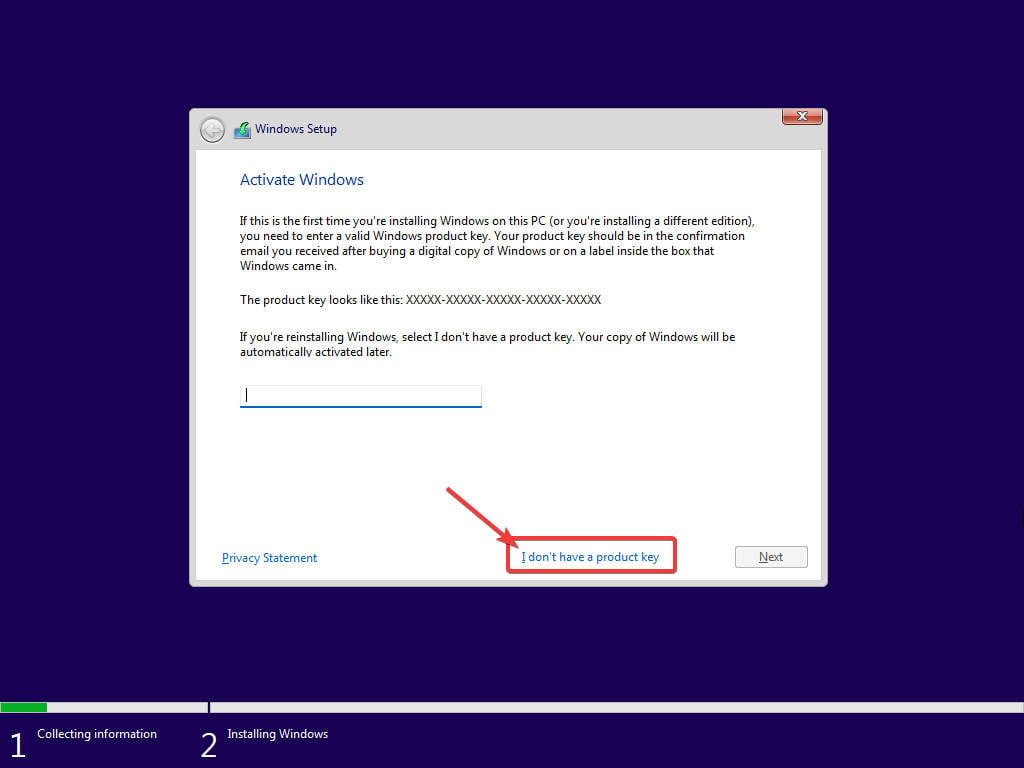
- Click I don’t have a product key link button to continue the setup.
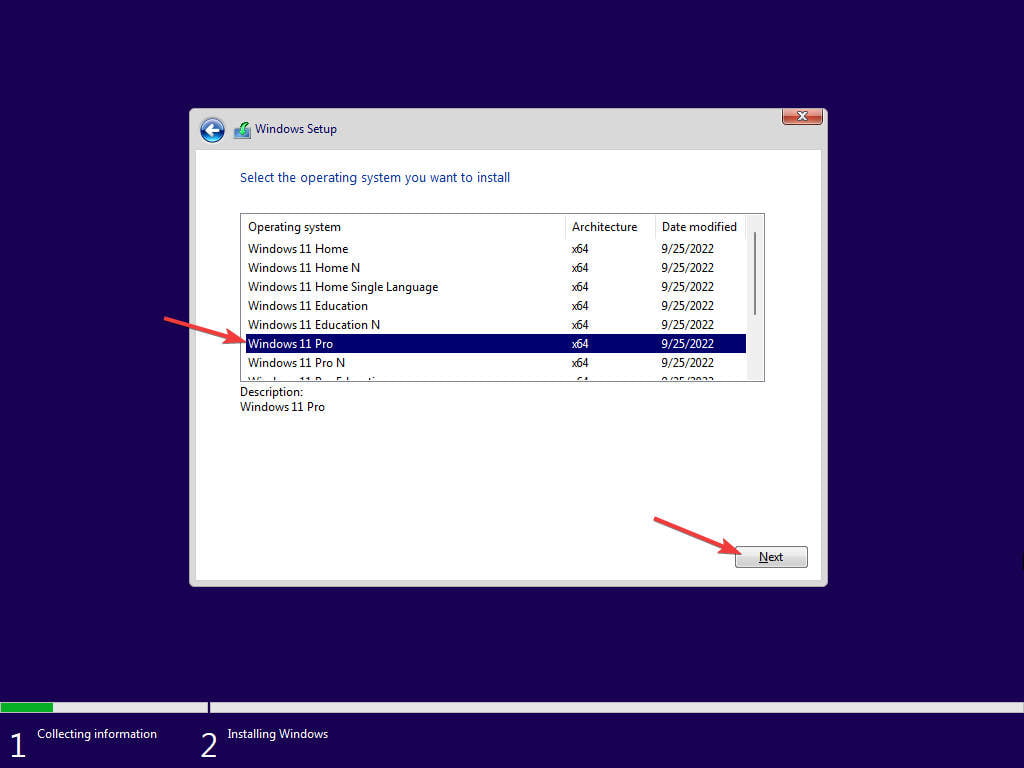
- Select your desired Windows 11 edition. Click Next.
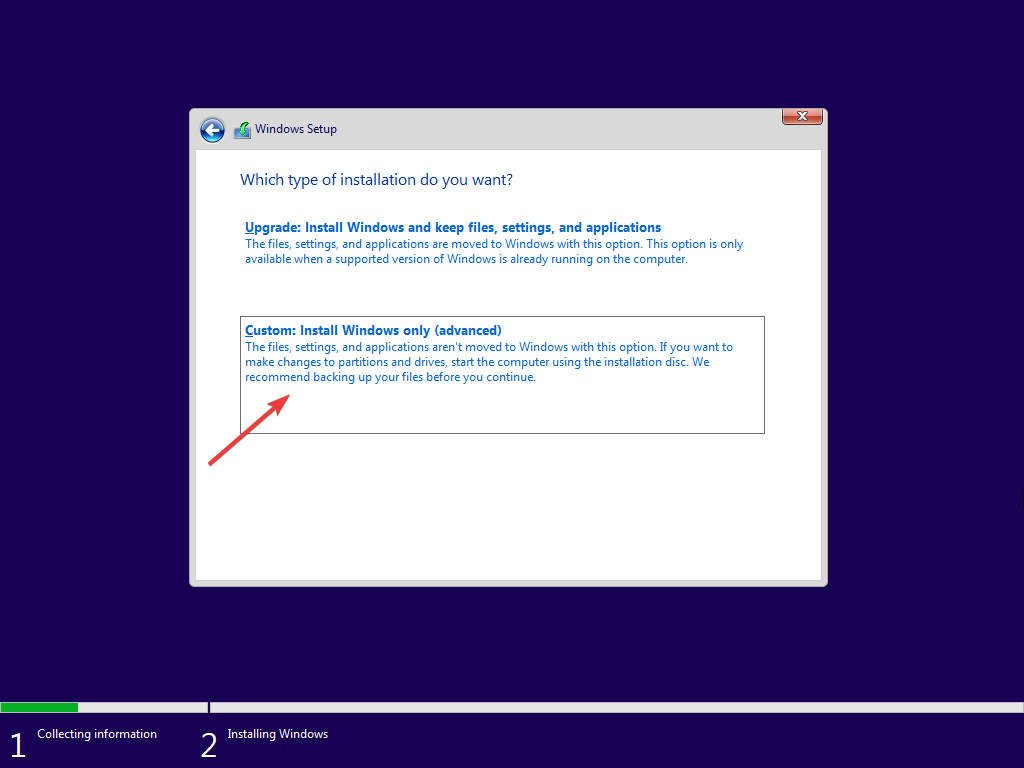
- Select Custom: Install Windows only (advanced), and click Next.
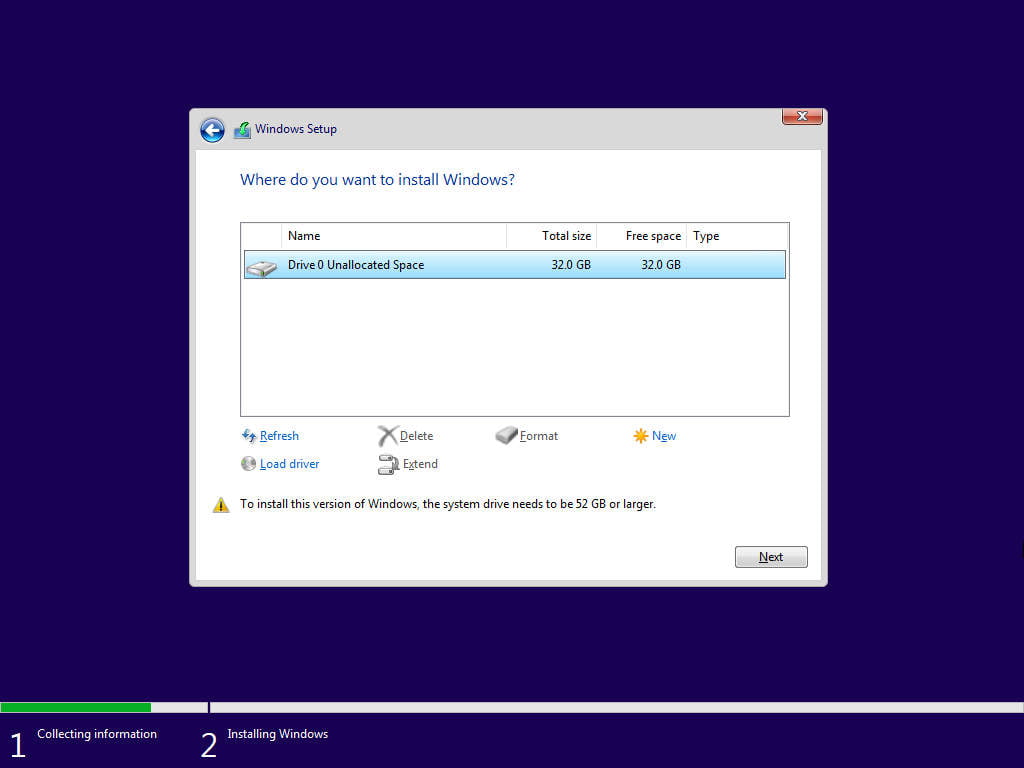
- Select the available disk, and click Next.
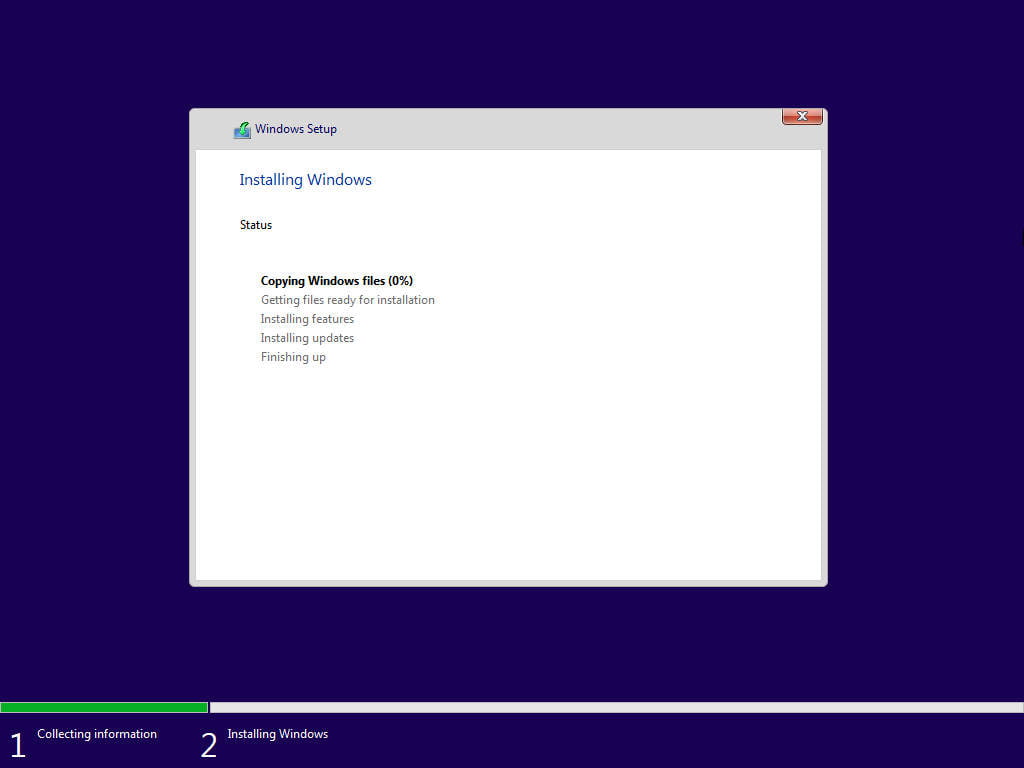
- Wait until the installation process finishes.
- Your PC will restart when it finishes installing.
- Select your country or region, and click Yes.
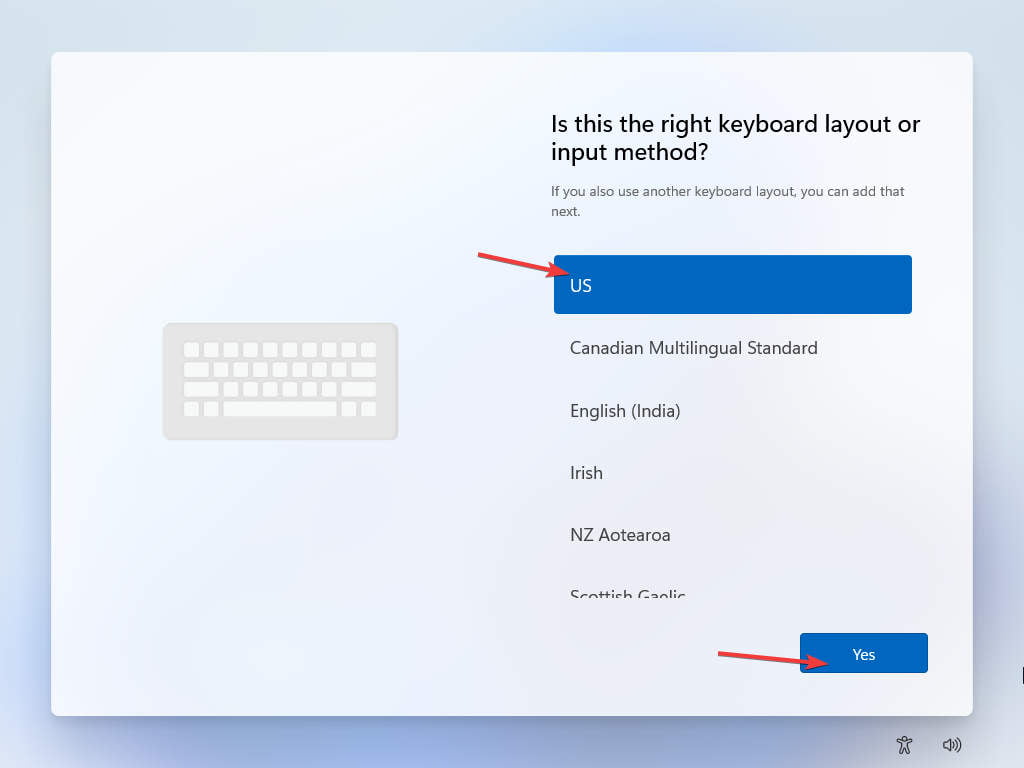
- Select the correct keyboard layout for your connected keyboard, and click Yes.
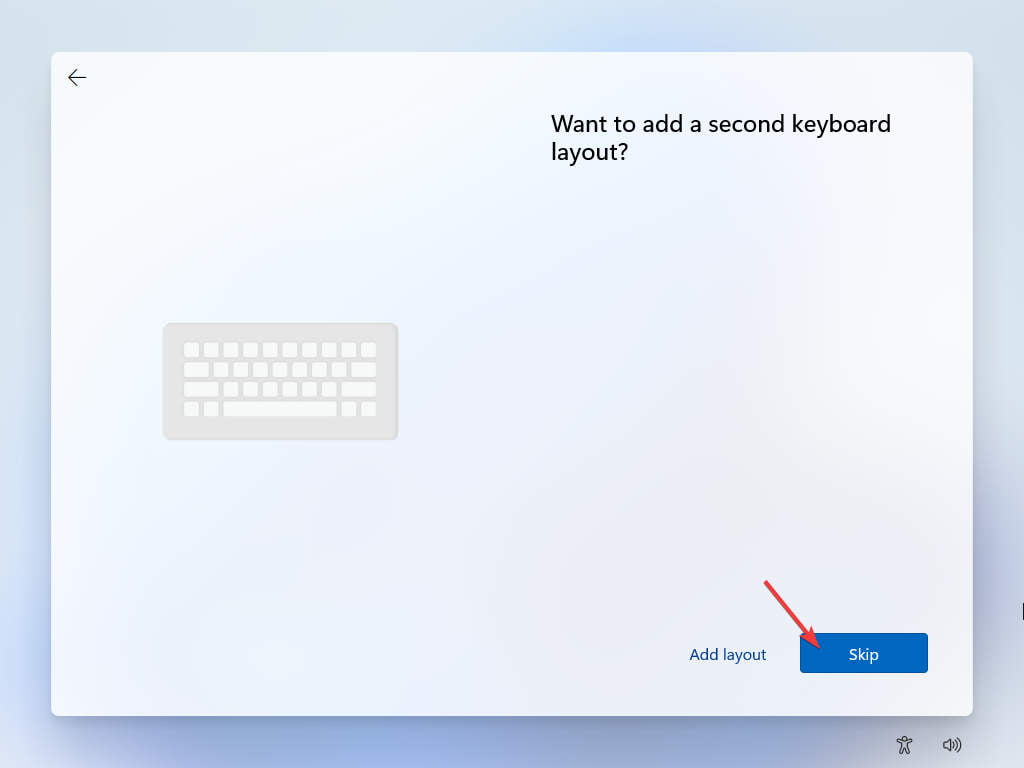
- Click Skip if you don’t need a second keyboard layout.
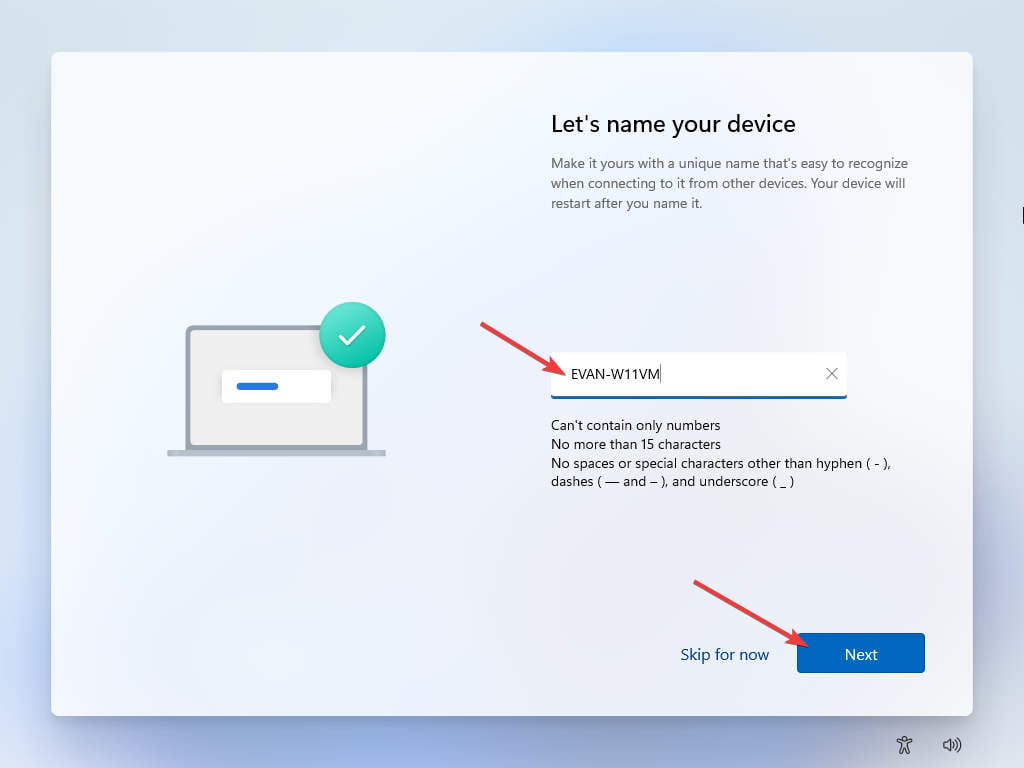
- Enter a name for your Windows 11 PC and click Next.
- Select Set up for personal use, and click Next.
- Enter your personal Microsoft account email address, and click Next.
- Enter your account password, and click the Sign in button.
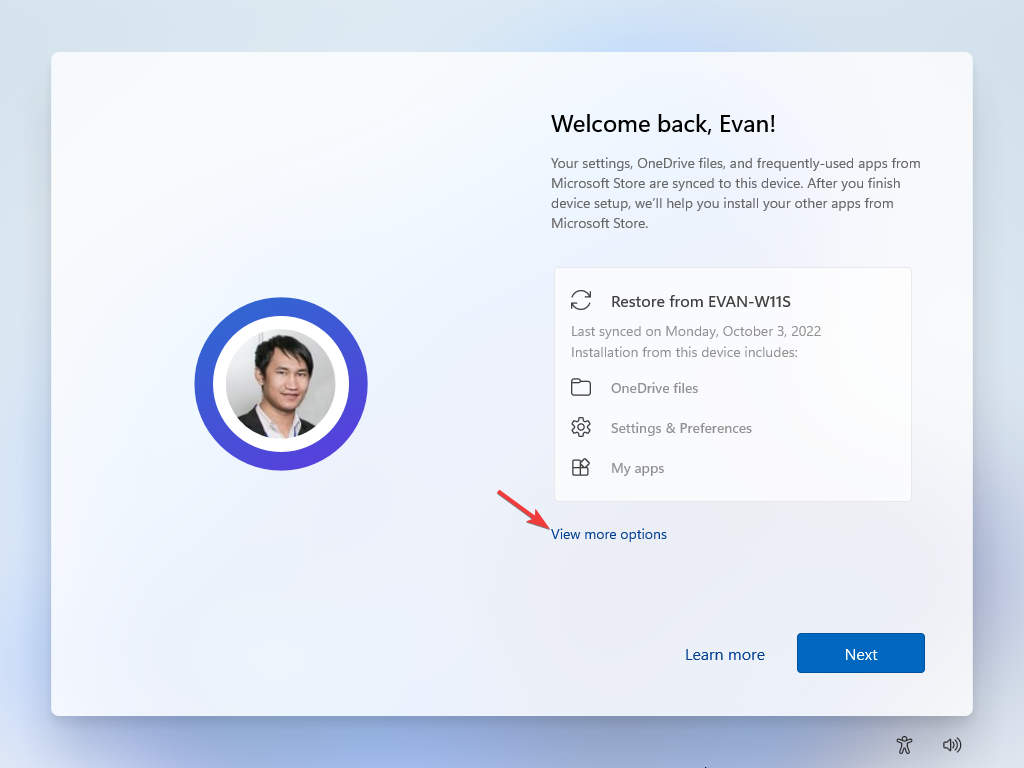
- Click view more options to more options, and click Next.
- Select the Set up as new device option, and click Next.
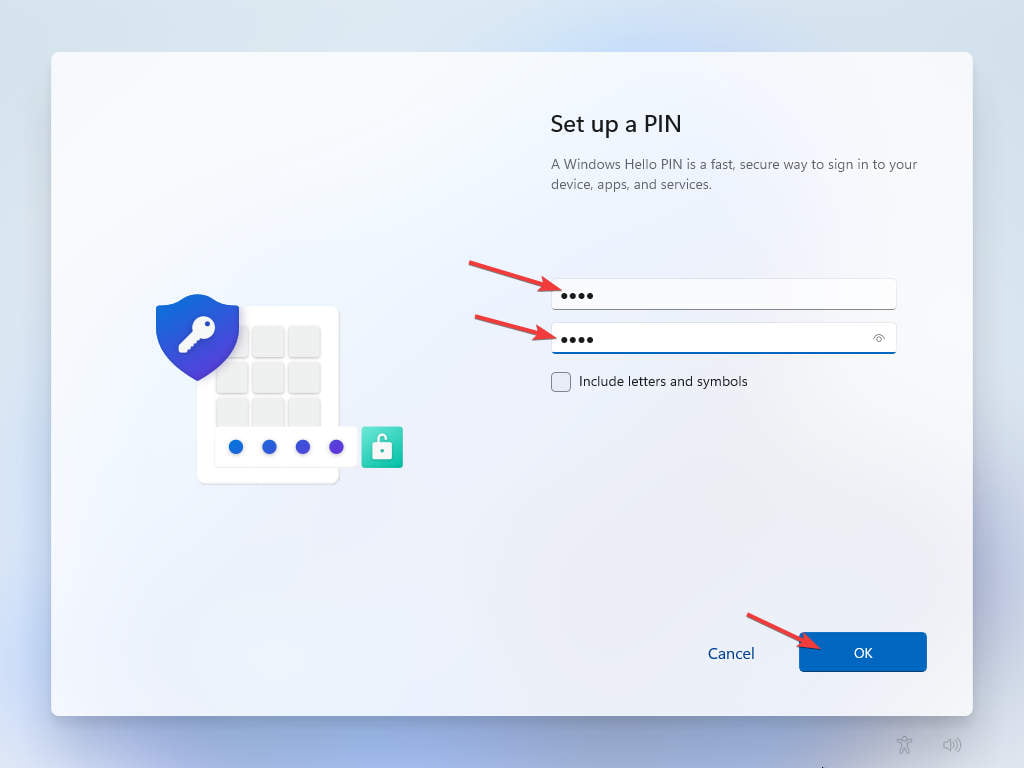
- Click the Create PIN button.
- Enter your desired PIN in both boxes, and click OK.
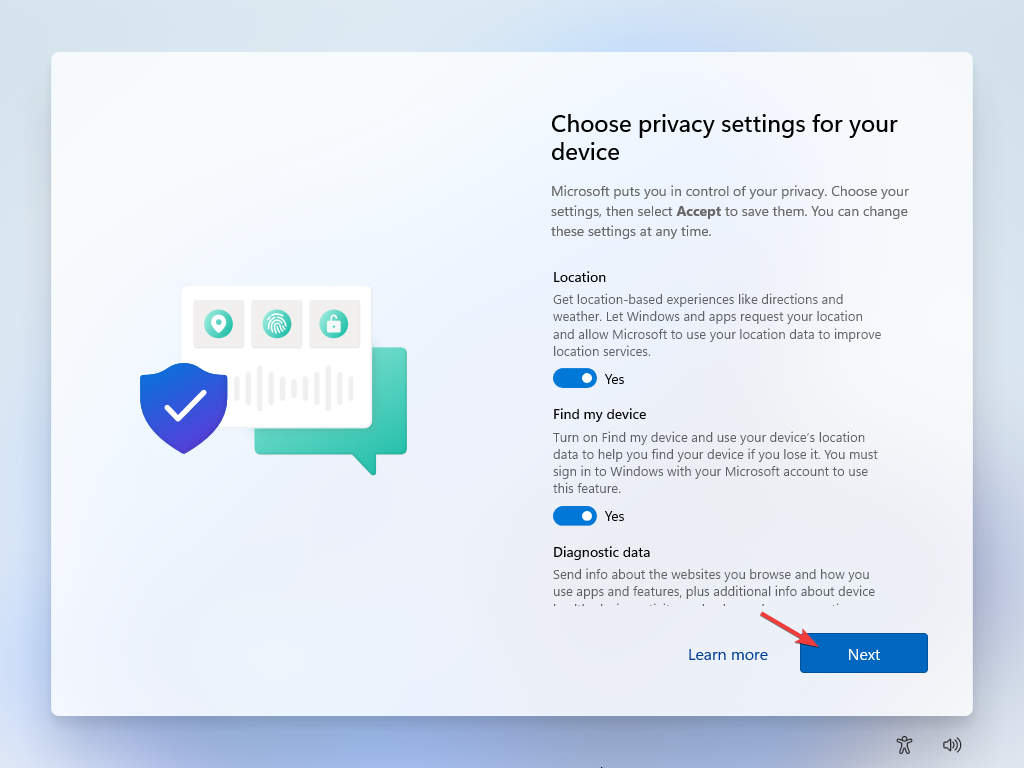
- Choose your privacy settings, and click Next.
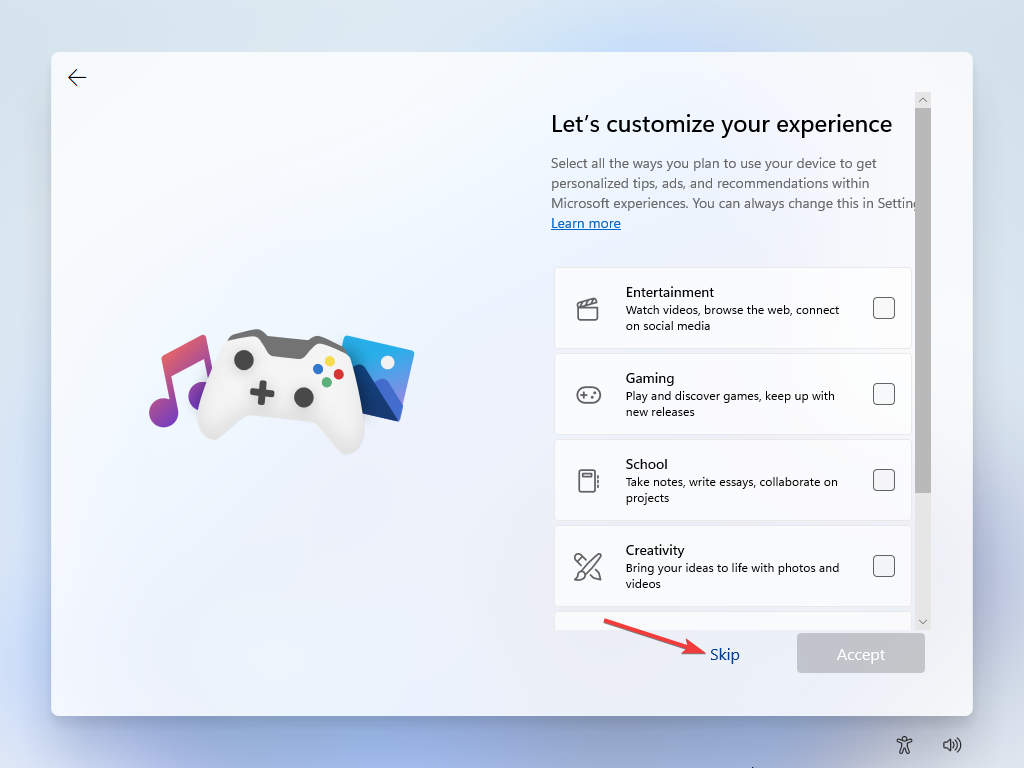
- Choose your preferred experience or click the Skip link button to continue.
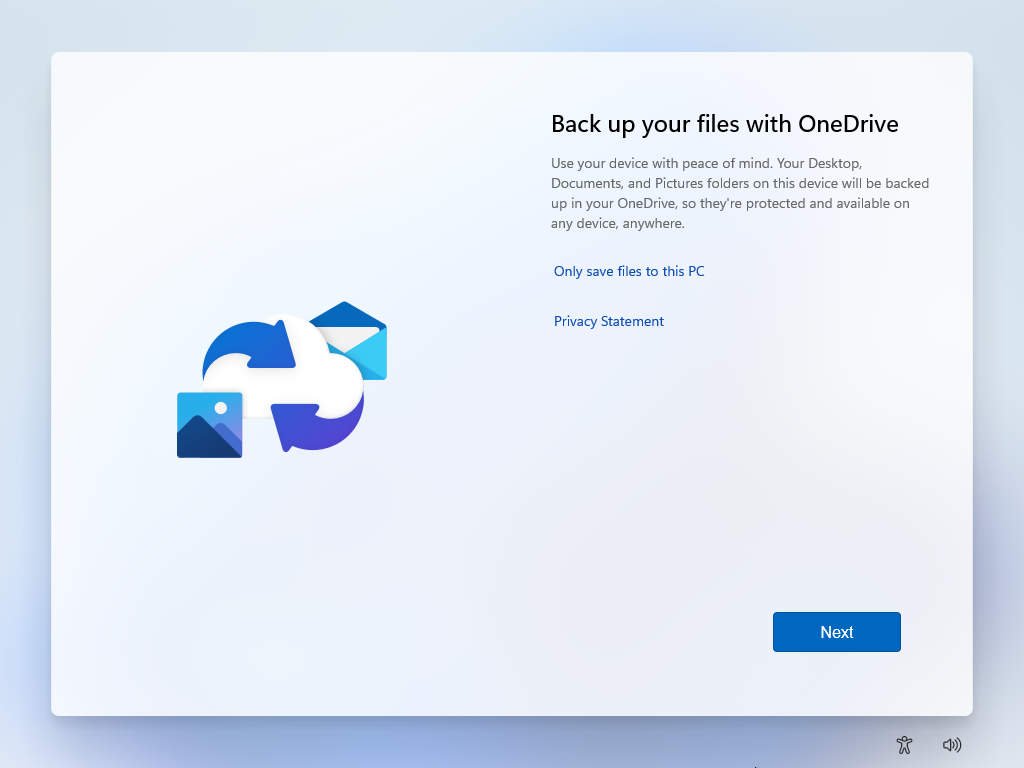
- Click Next to agree to have your files backup with OneDrive associated with your Microsoft account.
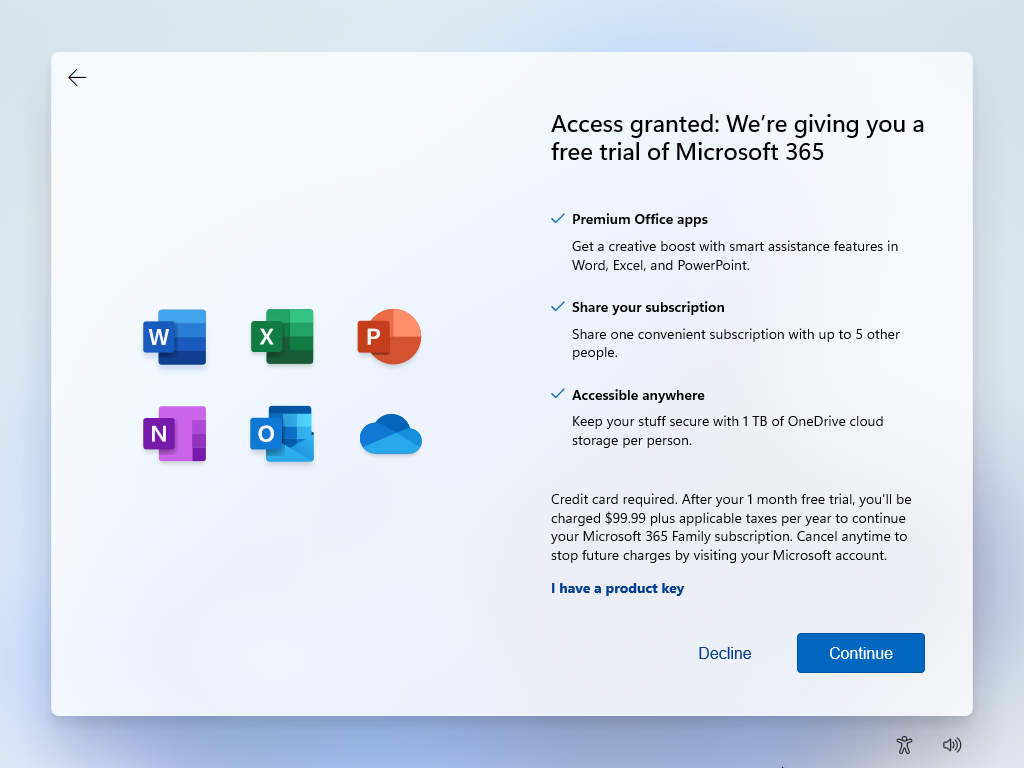
- Confirm your offer for a free Office 365 trial.
- It takes a few minutes to finish the last installation process.
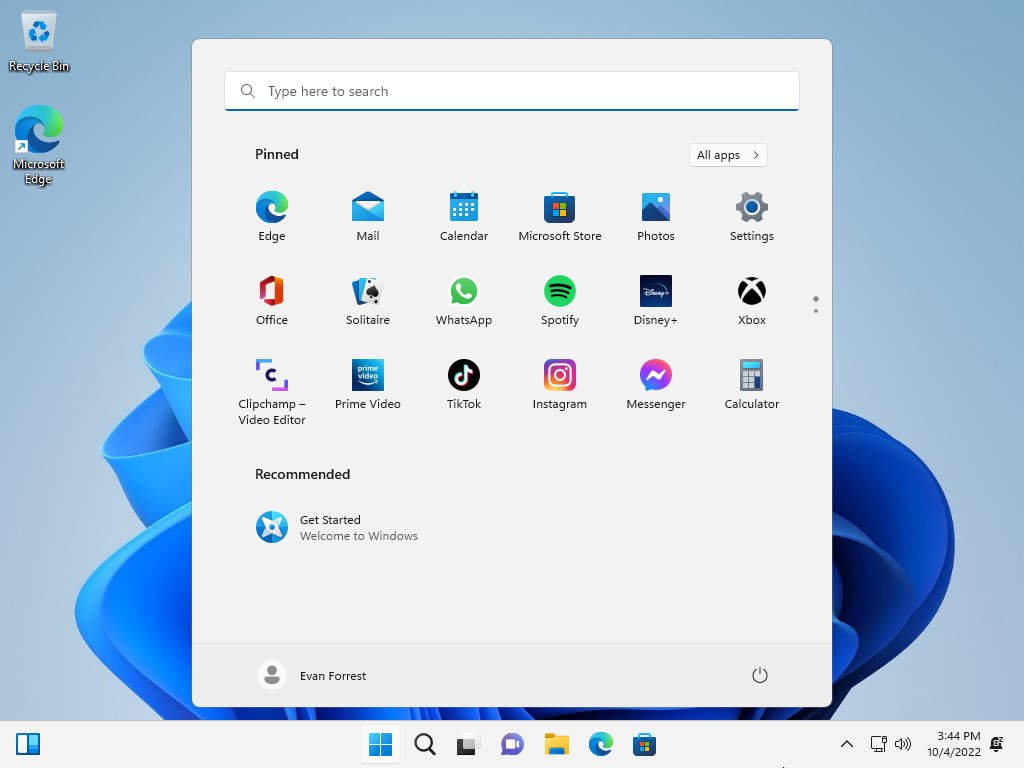
- When it finalizes the installation, you will see the Windows 11 desktop.


5. Installing VMWare Tools
To improve performance and interactive experience for your Windows 11 virtual machine on VMware Workstation, you need to install the VMware Tools. It contains a set of services and modules and is locally available when you’ve installed the software. Follow the steps to install VMware Tools on your virtual machine:
- Click on the Windows 11 virtual machine.
- Click on the VM menu, and click Install VMware Tools. It will mount the VMware Tools ISO file to the media drive on your virtual machine.

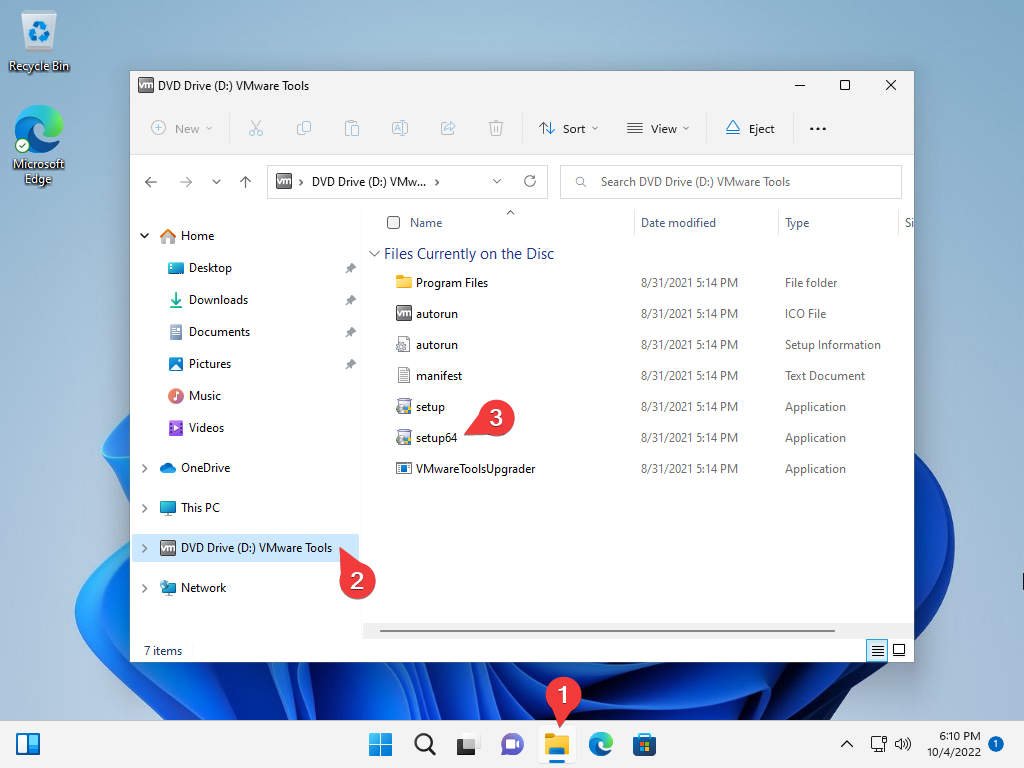
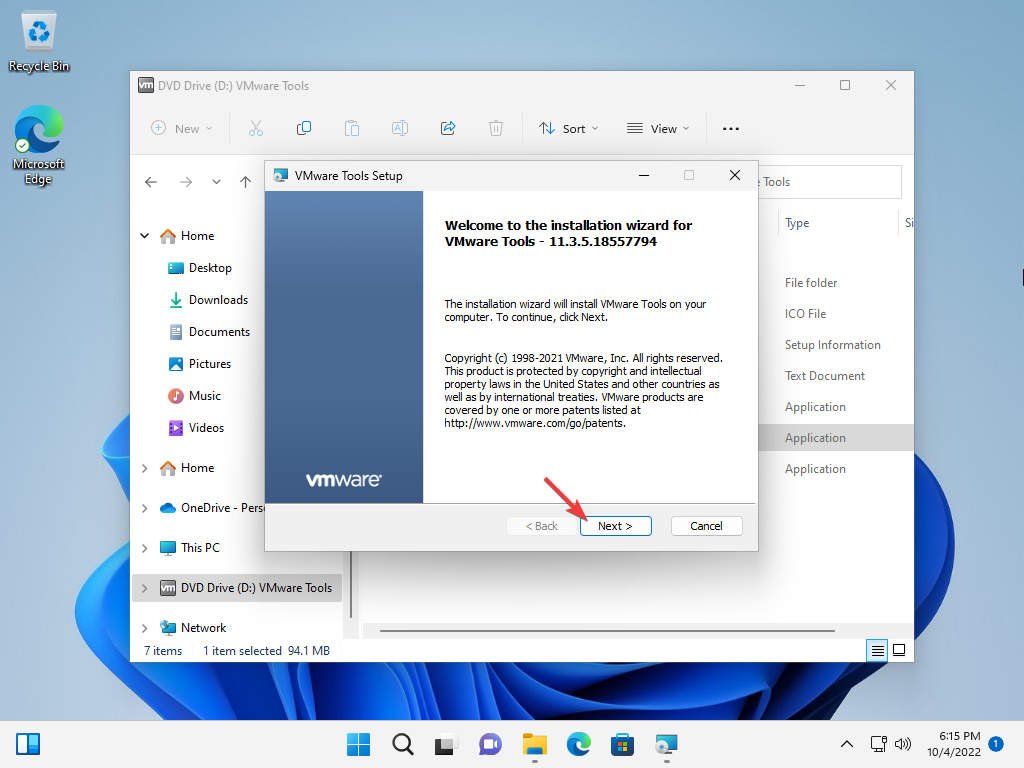
- On your Windows 11 virtual machine, open File Explorer. Go to VMware Tools media drive, and double-click the setup64.exe executable file.
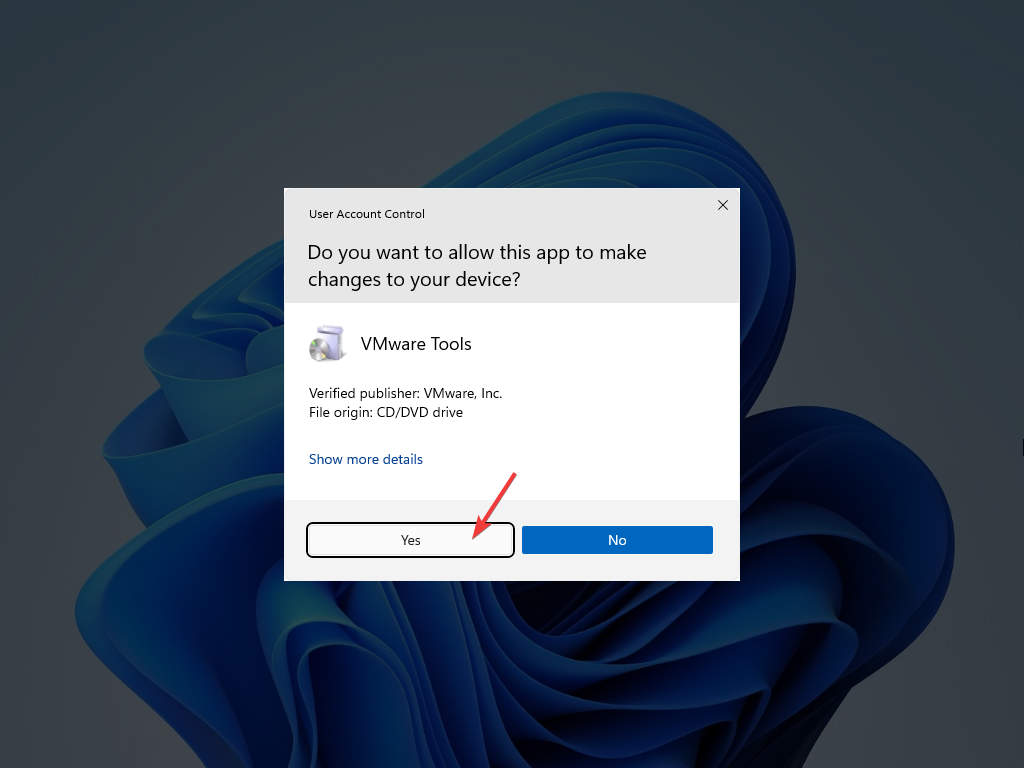
- Click Yes to continue the setup.
- Click Next.
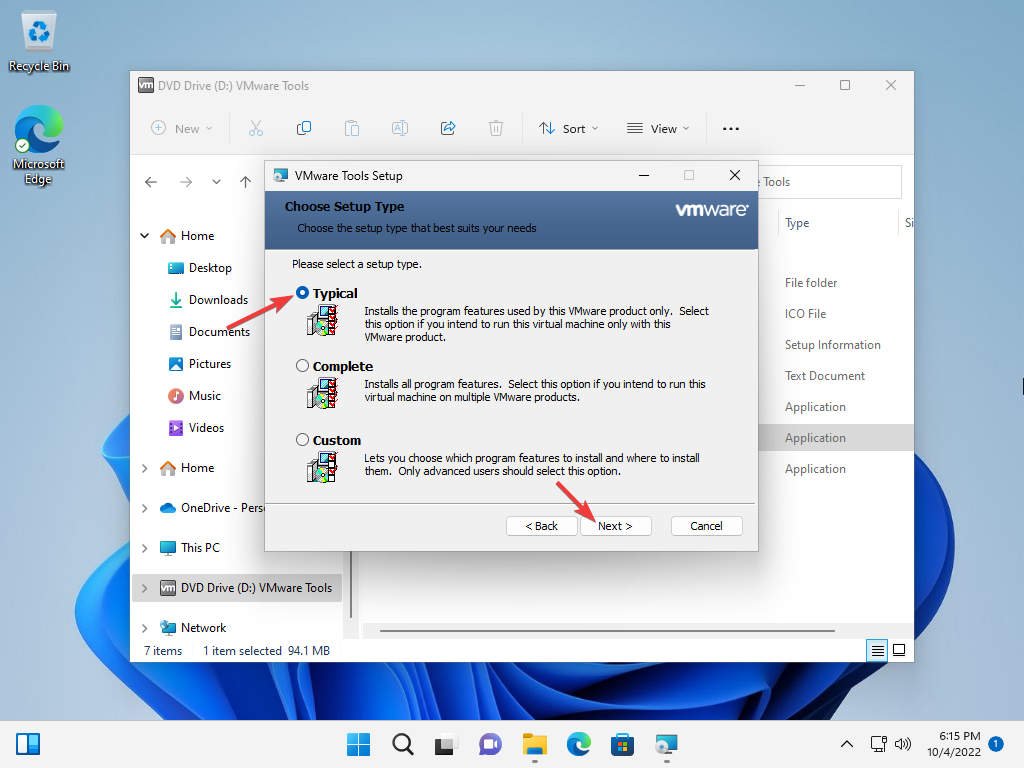
- Select the Typical option and click Next.
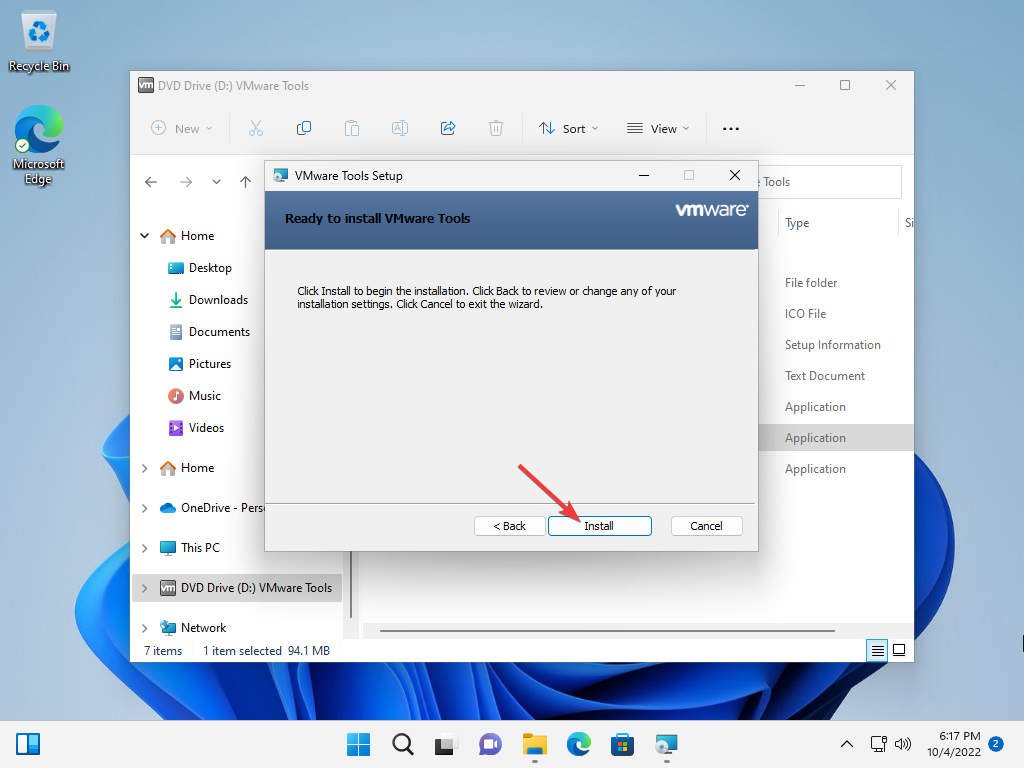
- Click Install.
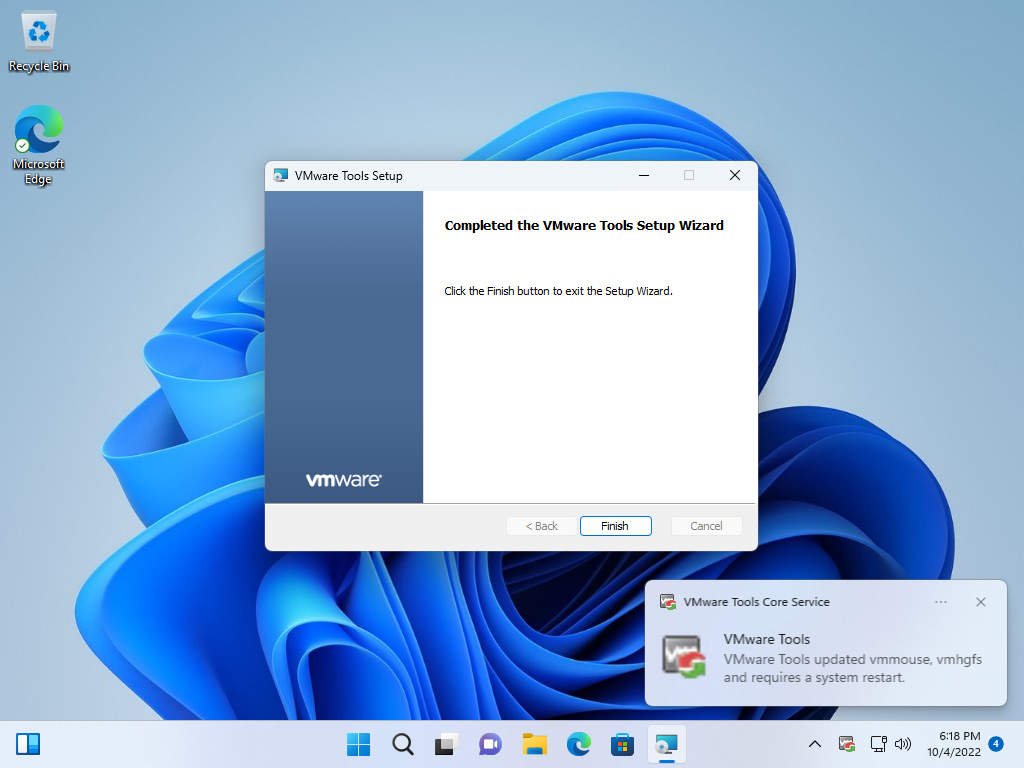
- When it finishes setup, click Finish.
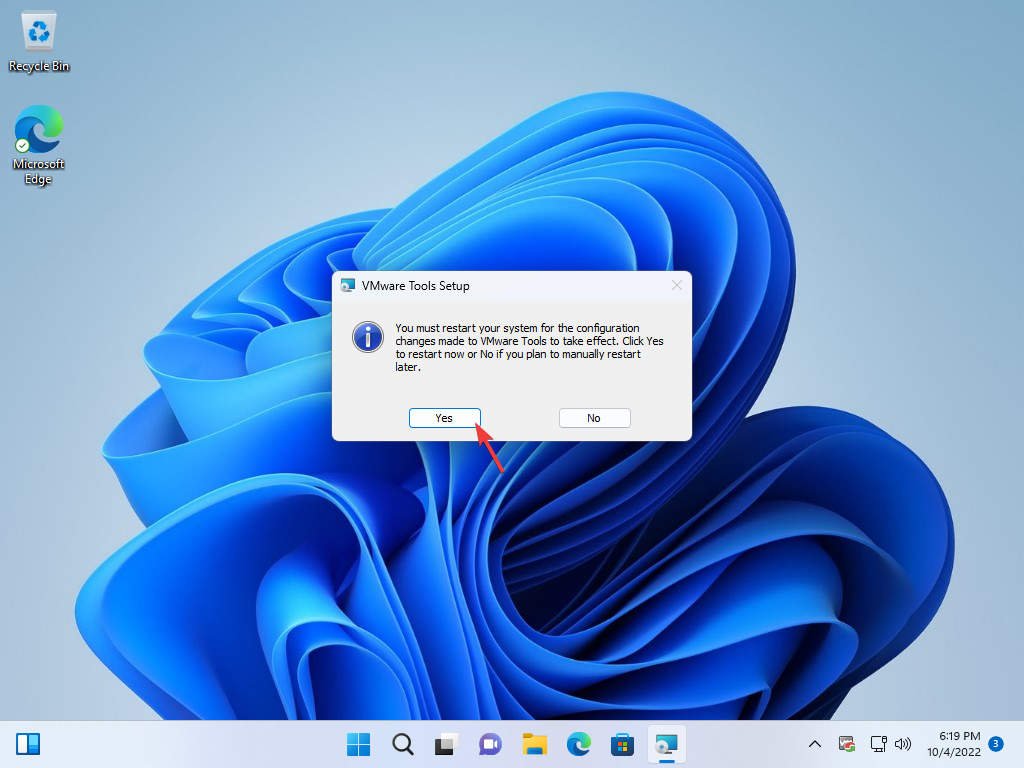
- Click Yes to restart your VM.
- You can verify the setup by confirming the VMware Tools icon in the system tray.

Hopefully, this guide helped you to install Windows 11 on VMware Workstation. If you have any questions or problems with the steps detailed in this tutorial, please let me know in the comment below.
Discover More
-

How to Change Taskbar Color on Windows 11
-
How to Disable Transparency Effects on Windows 10?
-
How to Download the Latest Windows 11 Insider ISO File
-
How to Enable Remote Desktop with Microsoft Account on Windows 11
-
How to Enable Windows 11 Touch Keyboard
-
How to Manage Startup Apps on Windows 10
-
How to Show or Hide Chat Icon on Windows 11 Taskbar
-
How to save your worksheet as a PDF in Microsoft Excel


COMMENTS
Let us know what you think!
We appreciate hearing your thoughts, questions, and ideas about “How to Install Windows 11 on VMware Workstation with Fixes”.