How to Enable Windows 11 Virtual Touchpad
In this article, we will walk you through how to enable and use the Virtual Touchpad feature on any PC running Windows 11.
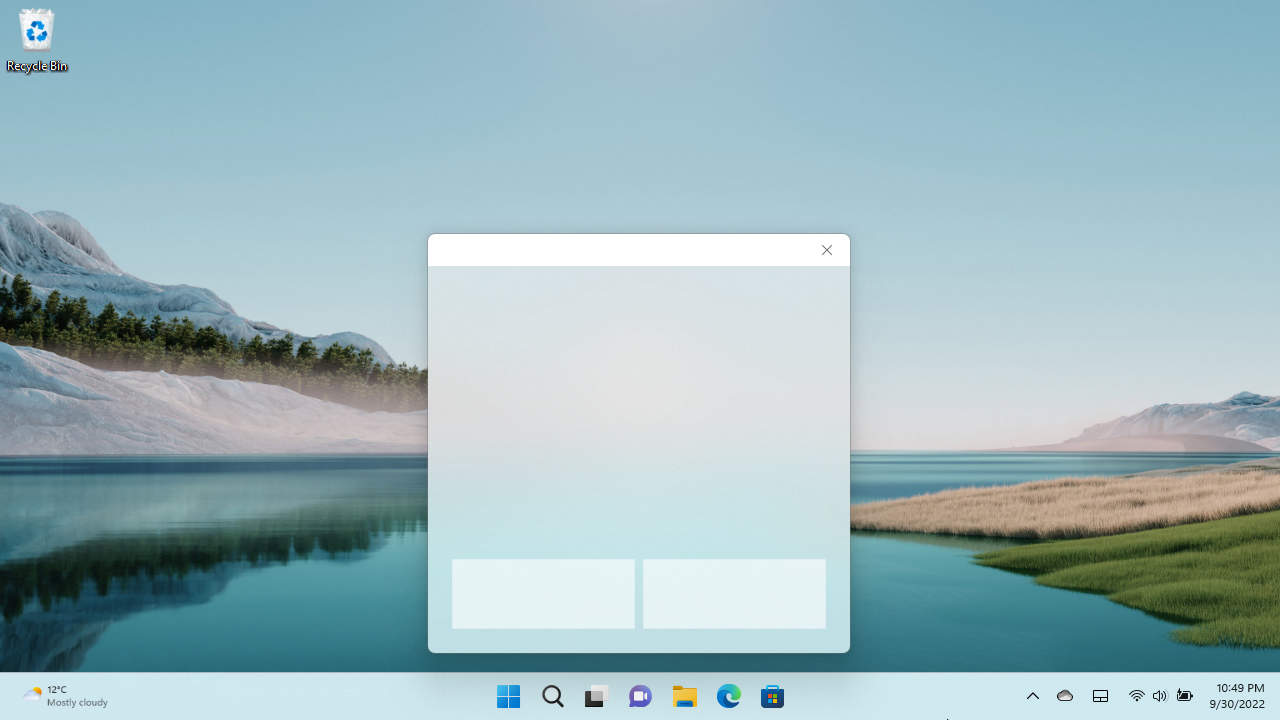
A virtual touchpad can be an essential feature when you want to use your PC as a tablet without any keyboard attached. You can use touch to control the virtual touchpad to move the cursor for handling any tasks that are not optimized for touch input.
To enable the Virtual Touchpad on Windows 11, right-click anywhere on an empty area of the Taskbar, select Taskbar settings, expand the System tray icons tab, and turn on or off the Virtual Touchpad switch. Read on for a step-by-step guide.
How to Enable Virtual Touchpad on Any Touch-Enabled PC
To enable the virtual touchpad feature on Windows 11:
- Open “Taskbar settings”
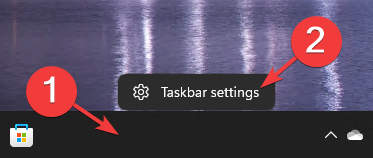
First, right-click on an empty area on the Taskbar, and select “Taskbar settings” from the context menu. Alternatively, you can go to Start > Settings > Personalization > Taskbar.

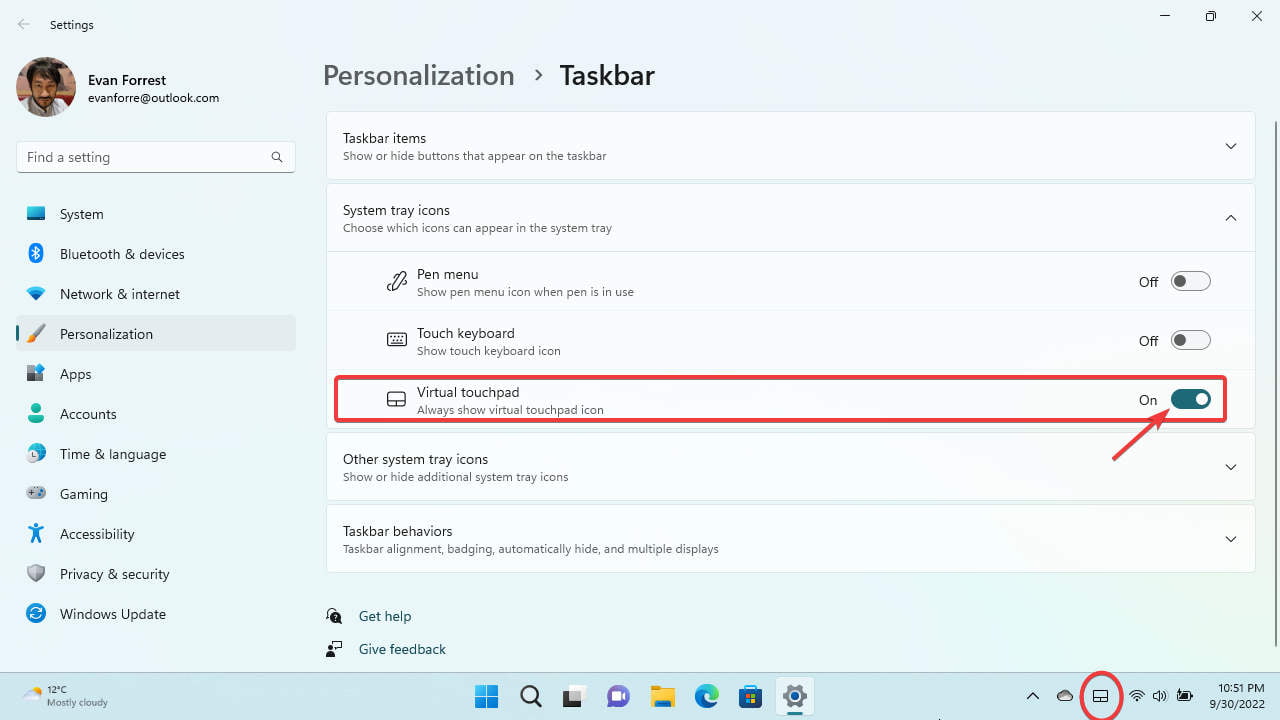
- Expand the “System tray icons” and look for the option named “Virtual touchpad”.

- Turn on the “Virtual touchpad” switch to enable the virtual touchpad icon on the system tray of the taskbar.
Now you can quickly access Windows 11’s virtual touchpad whenever you want by simply clicking or touching on the touchpad icon from the system tray section of the taskbar. If you have any questions or problems with the steps detailed in this tutorial, please let me know in the comment below.
More Windows 11 Tips & Tricks
For more helpful tips on how to use Windows 11, visit the following resources:
- How to Configure Remote Desktop on Windows 11
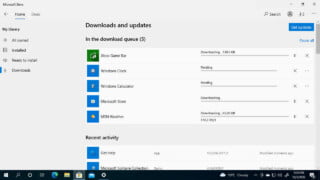
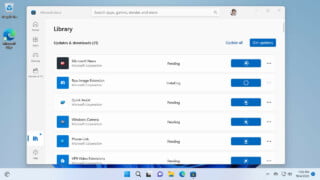
- How to Update Apps on Windows 11
- How to Show or Hide Search Icon from Windows 11 Taskbar
- How to Auto Hide Taskbar on Windows 11
- How to Download the Latest Windows 11 Insider ISO File
- How to Change Windows 11 Taskbar Alignment
- How to Customize Windows 11 Start Layout
- How to Show Windows Essential Shortcuts on Start Next to the Power button on Windows 11
- How to Install Official Telegram Desktop App on Windows 11
- How to Check Device Specifications on Windows 11
Discover More
-

How to Add Text Outline Effect in Microsoft Word
-
How to Auto Hide Taskbar on Windows 11
-
How to Install Brave Browser on Windows 10
-
How to Update Apps on Windows 10
-
How to Update Apps on Windows 11
-
How to enable "Hey Cortana" voice command on Windows 10
-
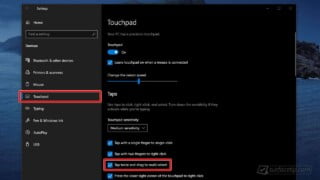
How to enable double tap to drag on Windows 10?
-
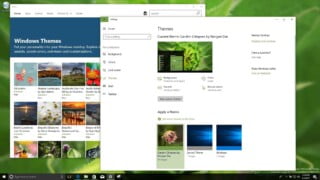
How to get new themes from the Windows Store


COMMENTS
Let us know what you think!
We appreciate hearing your thoughts, questions, and ideas about “How to Enable Windows 11 Virtual Touchpad”.